Illustration by River
A zero-shot guide on using the SO101 via the browser!
I created a website, instant.river.berlin, to directly use a robot arm with minimal effort.
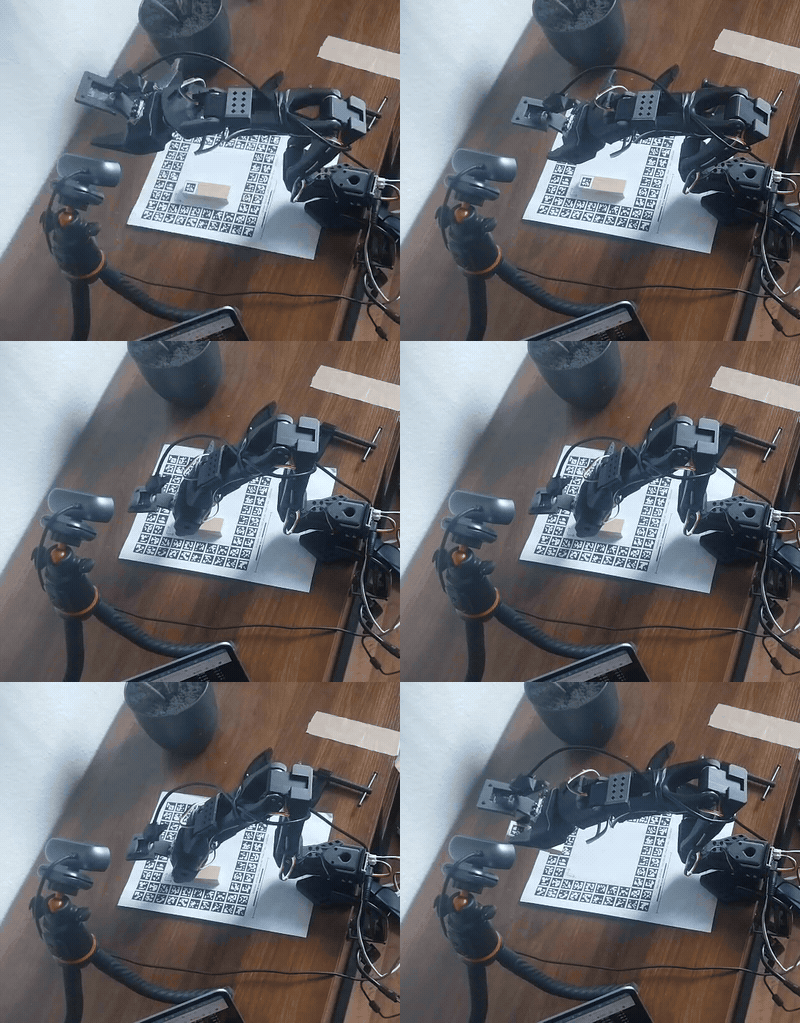
Okay, so currently no SO101 policy "works out of the box" — it needs to be configured, or fine-tuned, or run on a really expensive machine.
Except when you're using ArUco tags! You can build really cool stuff with this.
In the future I will be showing how to extend this technique to work with ChatGPT and other forms of technology, and extending the interface to "just work" with a model such as Claude, ChatGPT or Gemini.
At the time of writing this article, you're going to need a few things to get this to work beforehand:
- The SO-101 ArUco calibration board (printable PDF)
- A bunch of ArUco tags for the things you wish to pick up (printable PDF)
- A bunch of Jenga blocks — although really any rectangular pickable thing should work, even if it is something tiny made from cardboard
- The SO101 robot arm
- A side camera for the SO101 robot arm (to see the entire work space, and the calibration board)
1. Camera, SO101 and tag placement
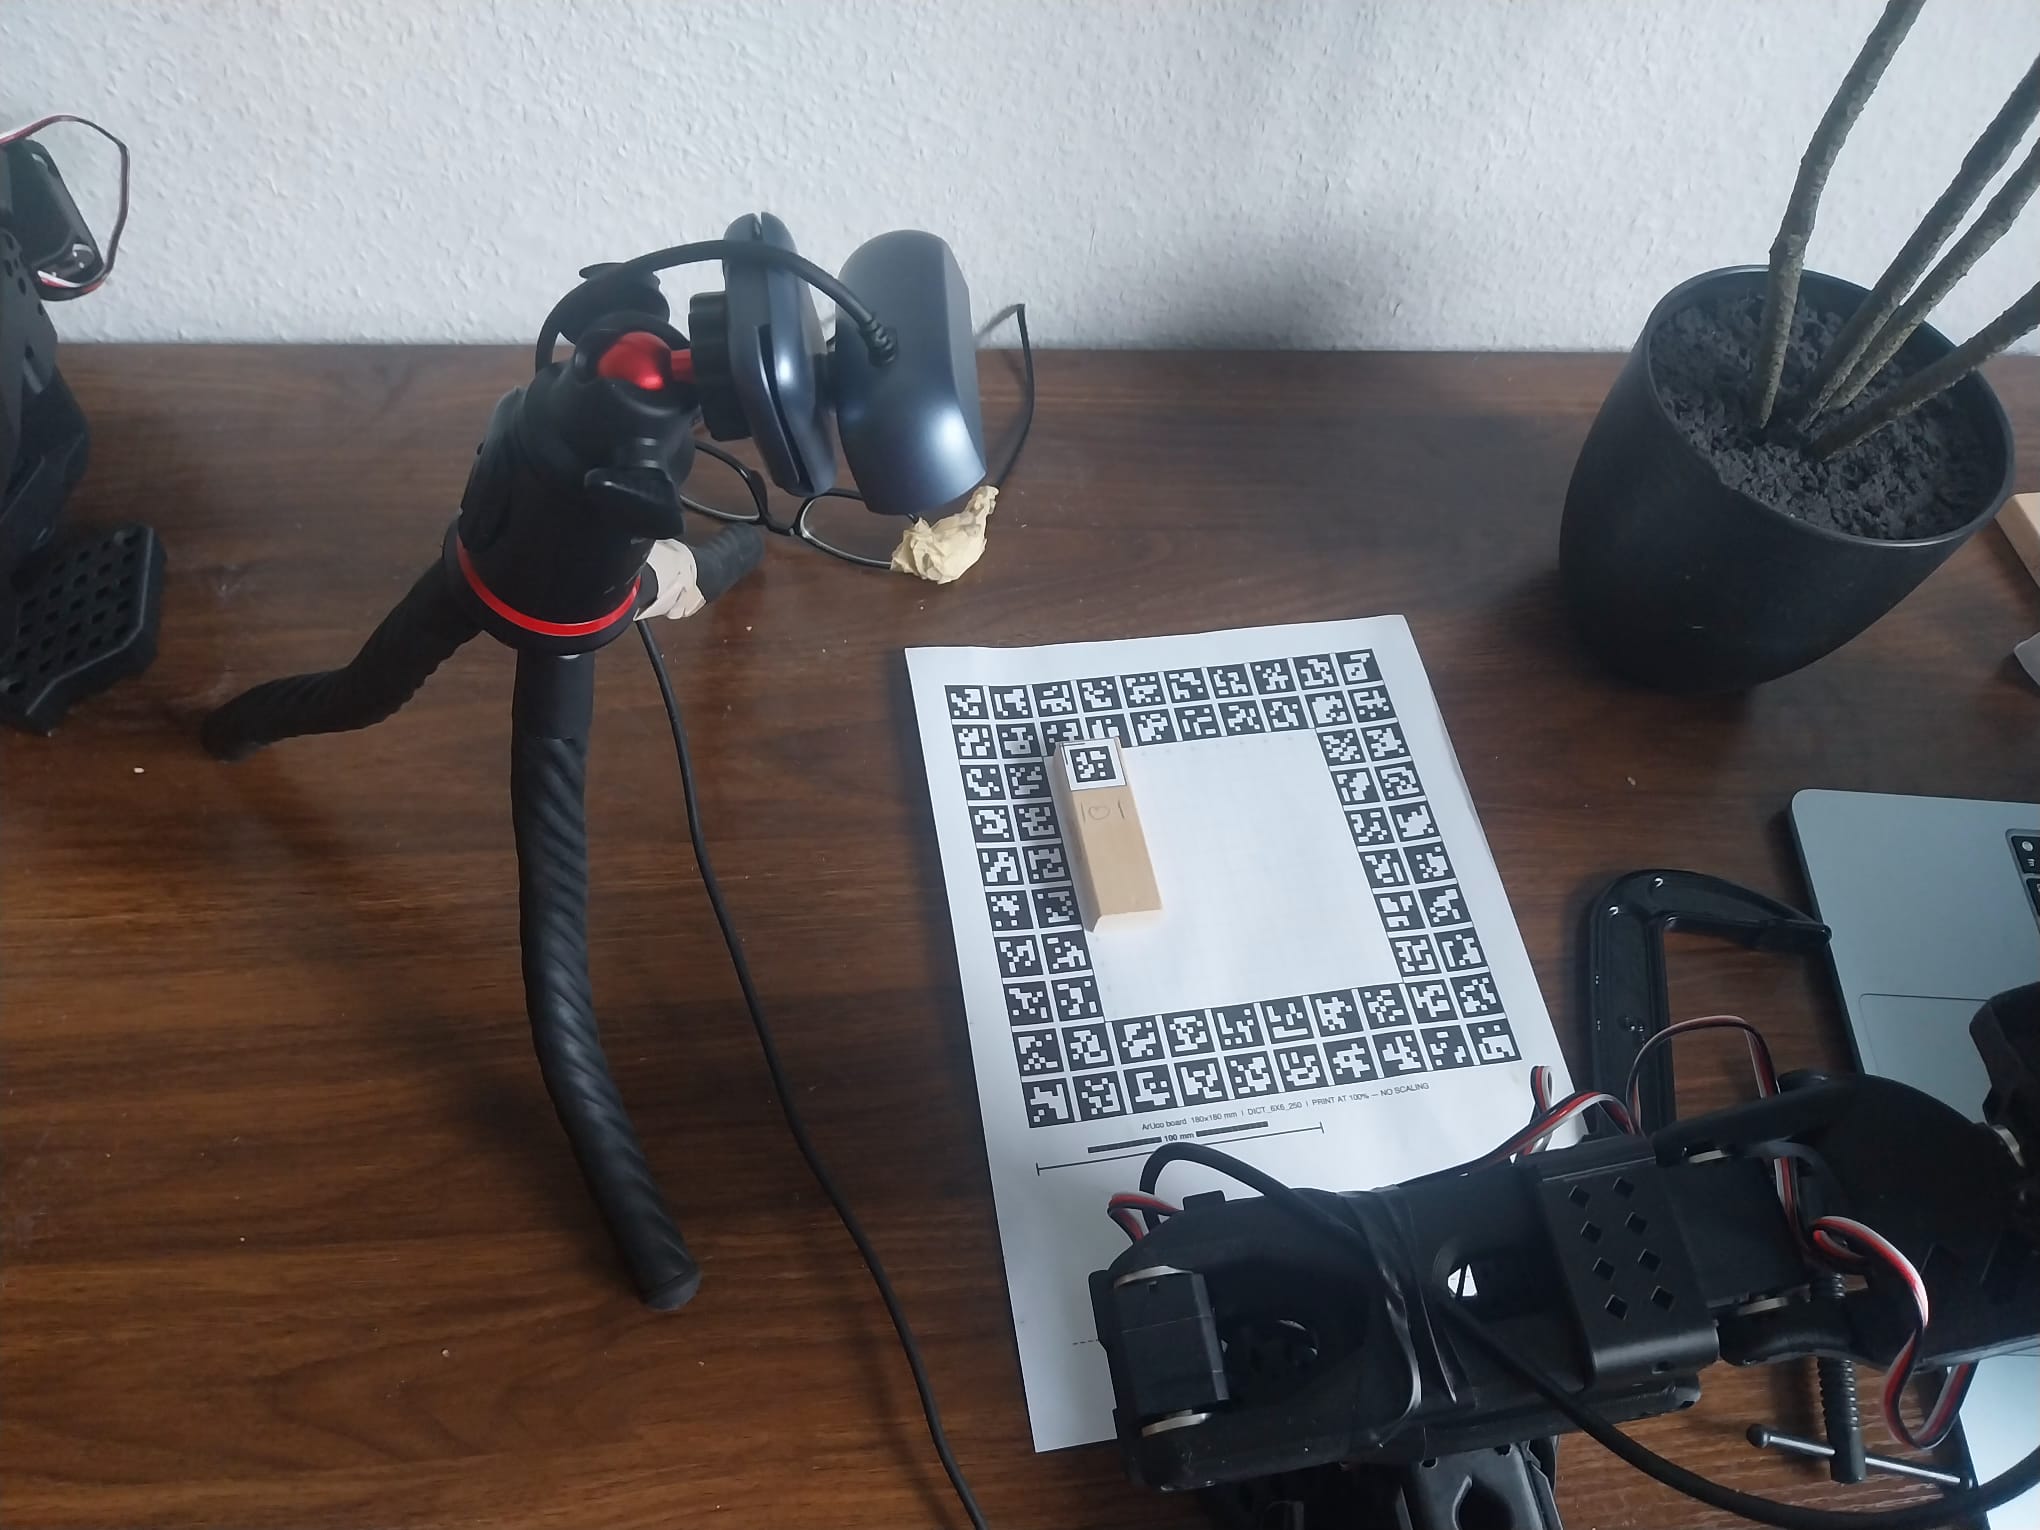
Firstly, ensure that the side-camera you are using with the SO101 is placed in a manner that covers a majority of the calibration board. Not all the border tags need to be visible, but it is better if they are (it has very strong redundancy).
Then, go to instant.river.berlin
Ensure that the SO101 is placed behind the "dotted line". It should preferably be clamped down to the end of the board.
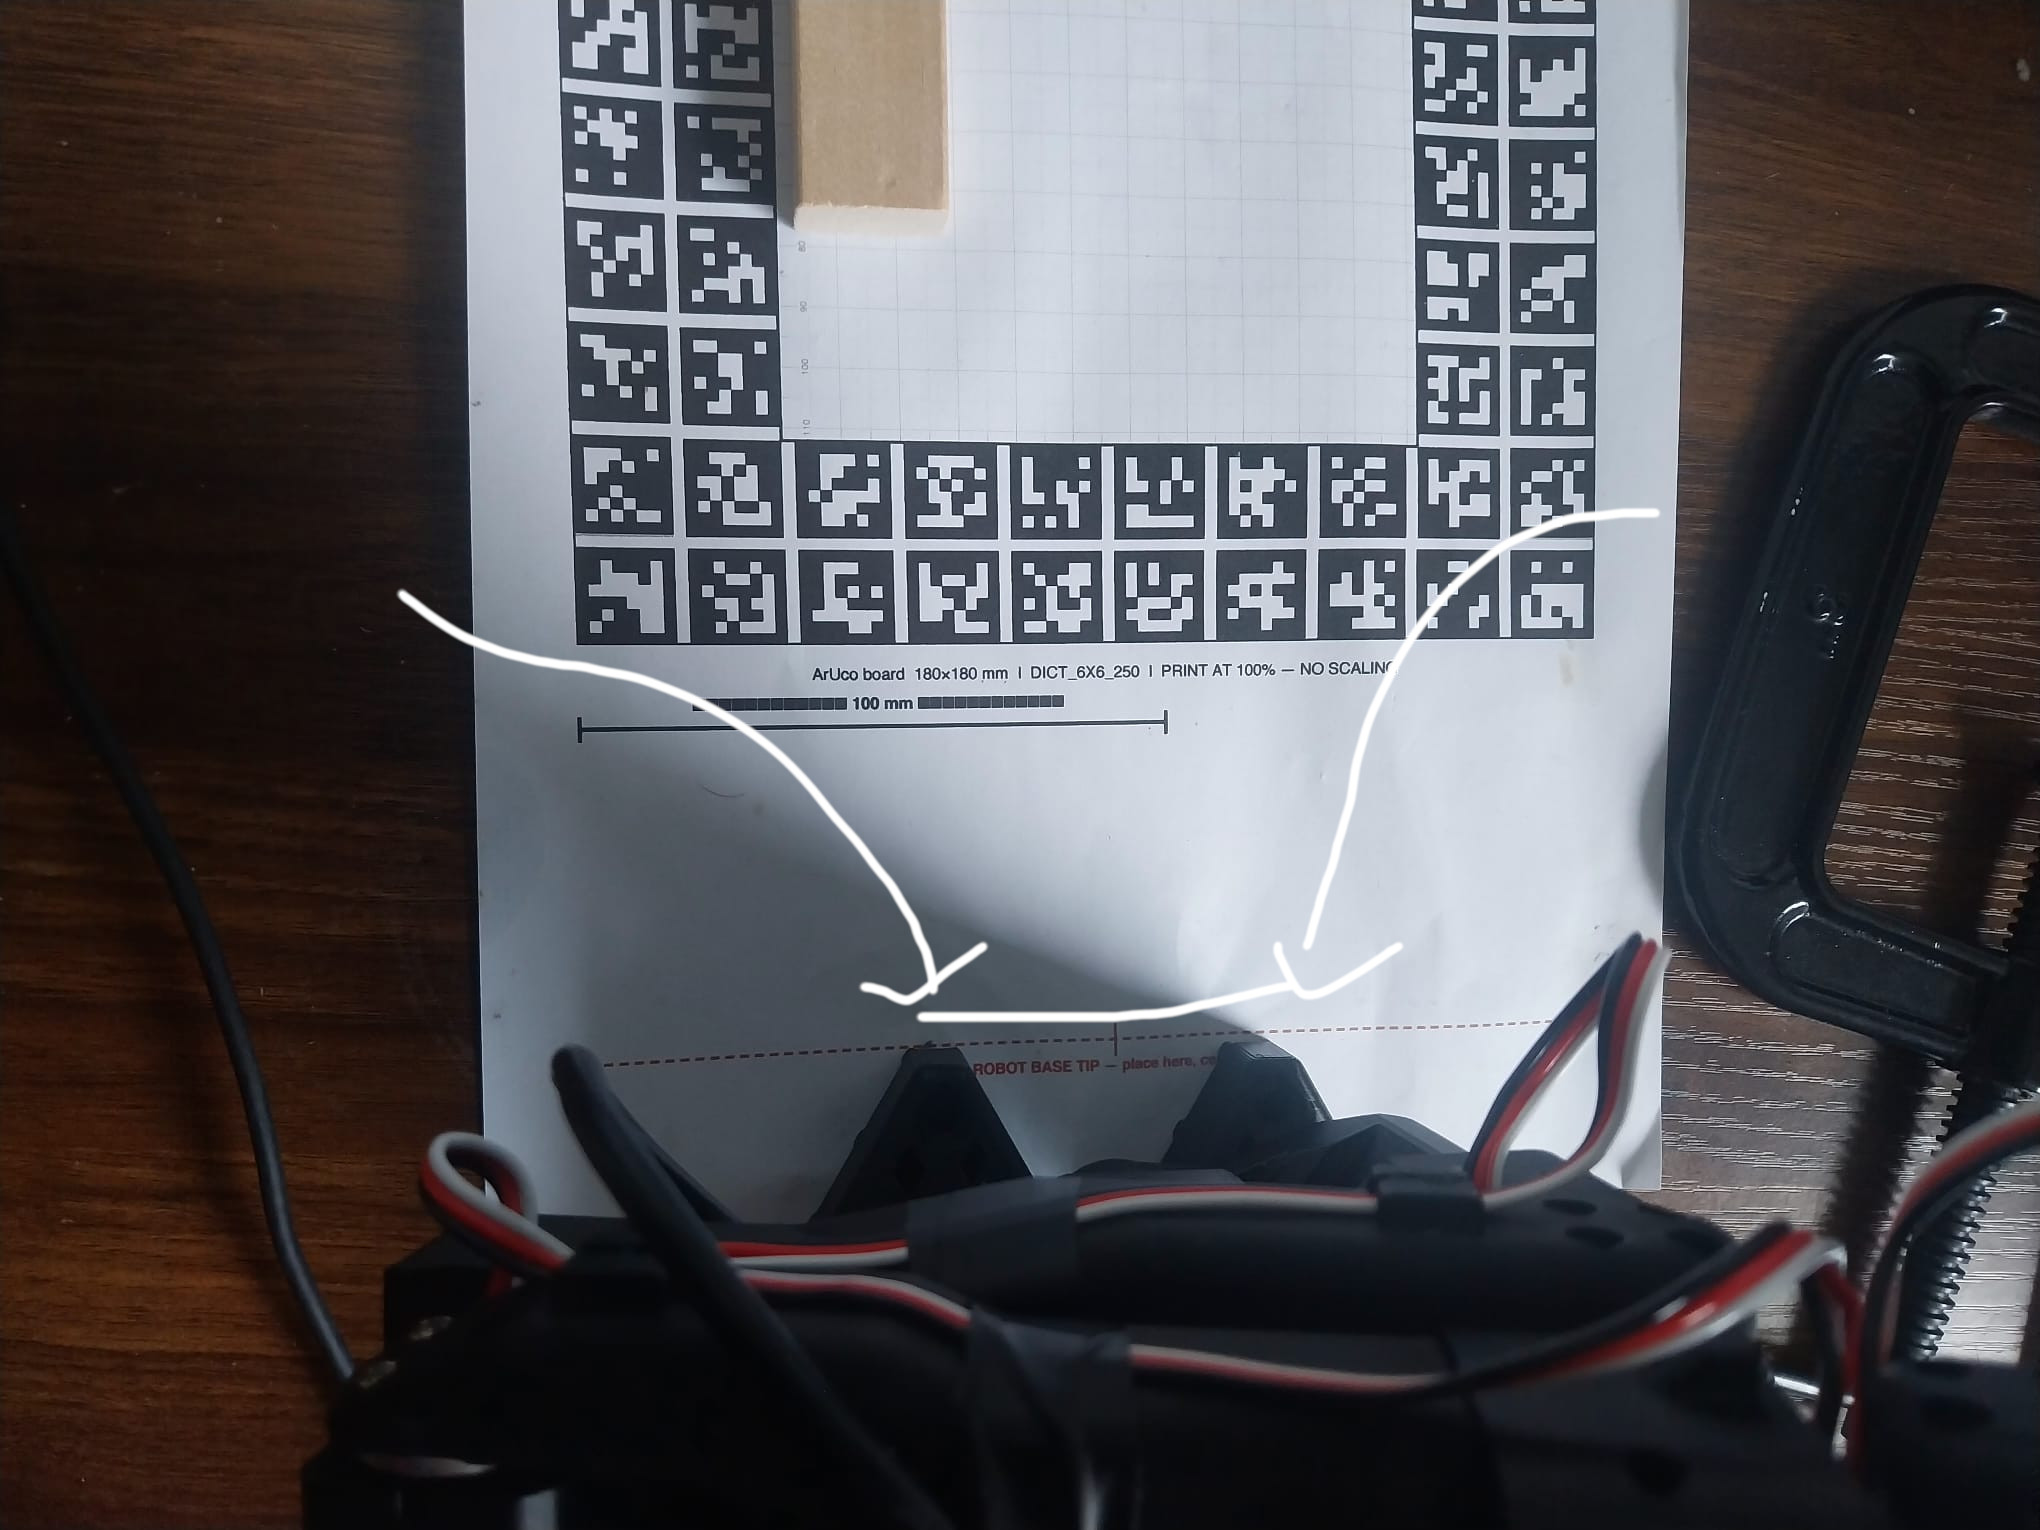
And finally, cut out the ArUco tags and place them on the Jenga blocks (or other things) you would like to pick up.
2. Camera calibration
Click on "Start calibration" (keyboard shortcut: c) to begin calibration of the camera, and to place the blocks in the 4 border points.
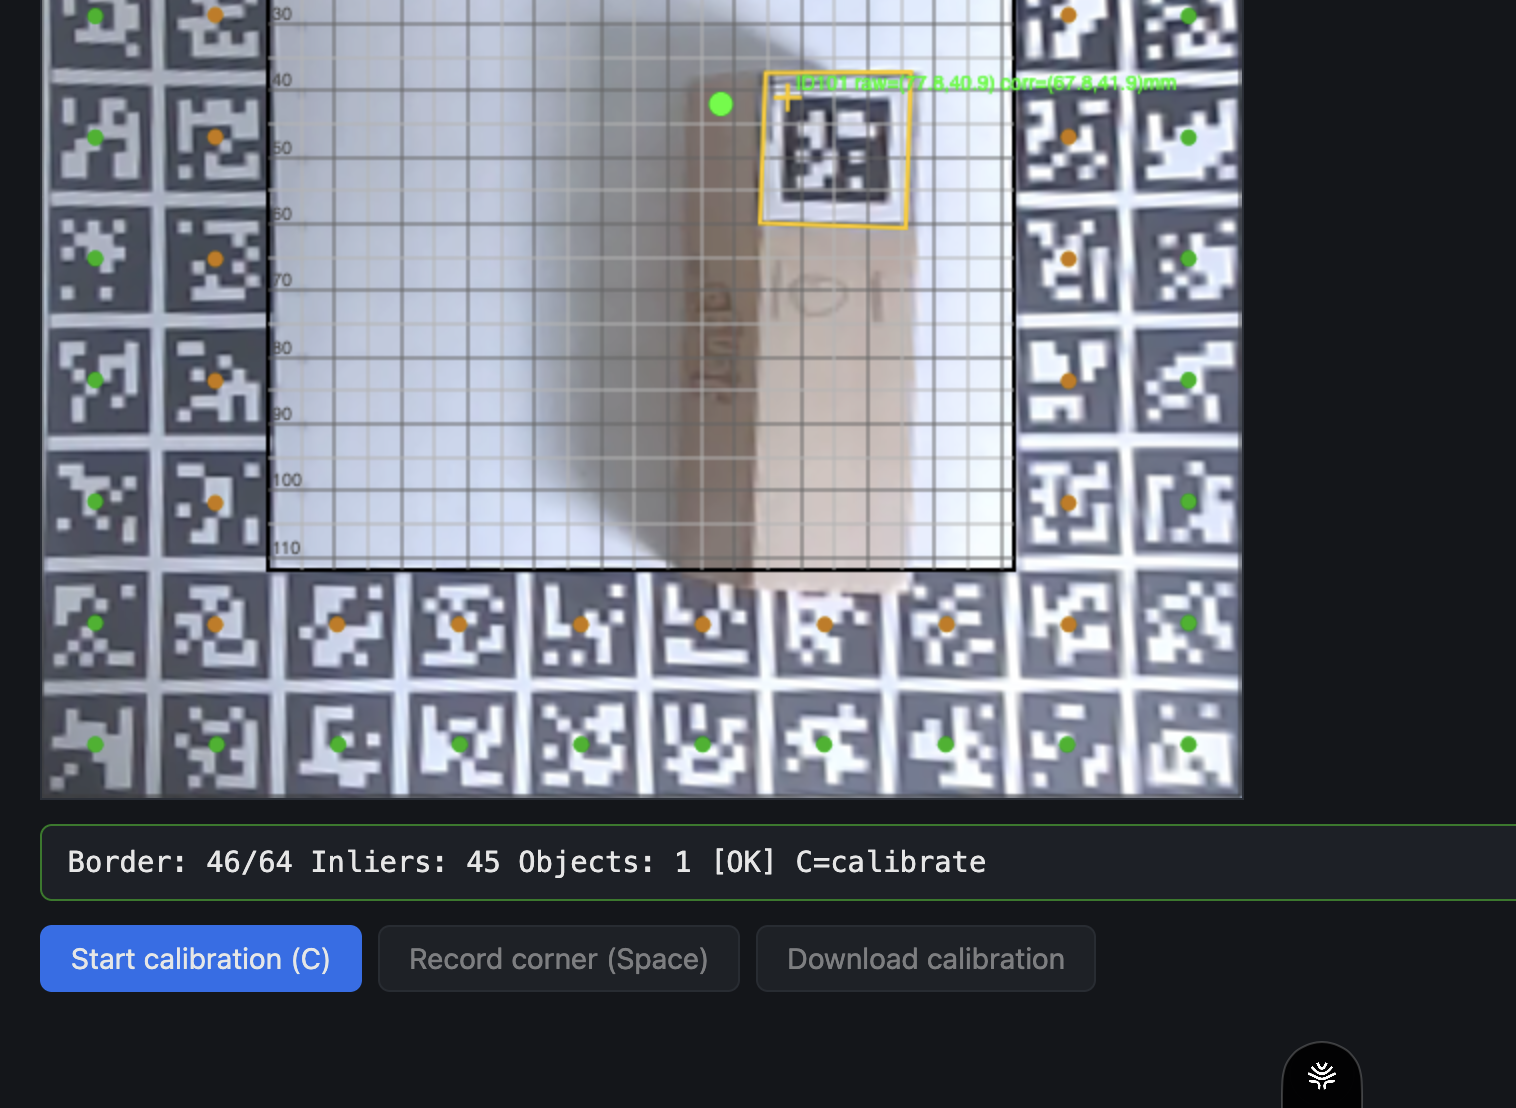
Place the block in the correct position!
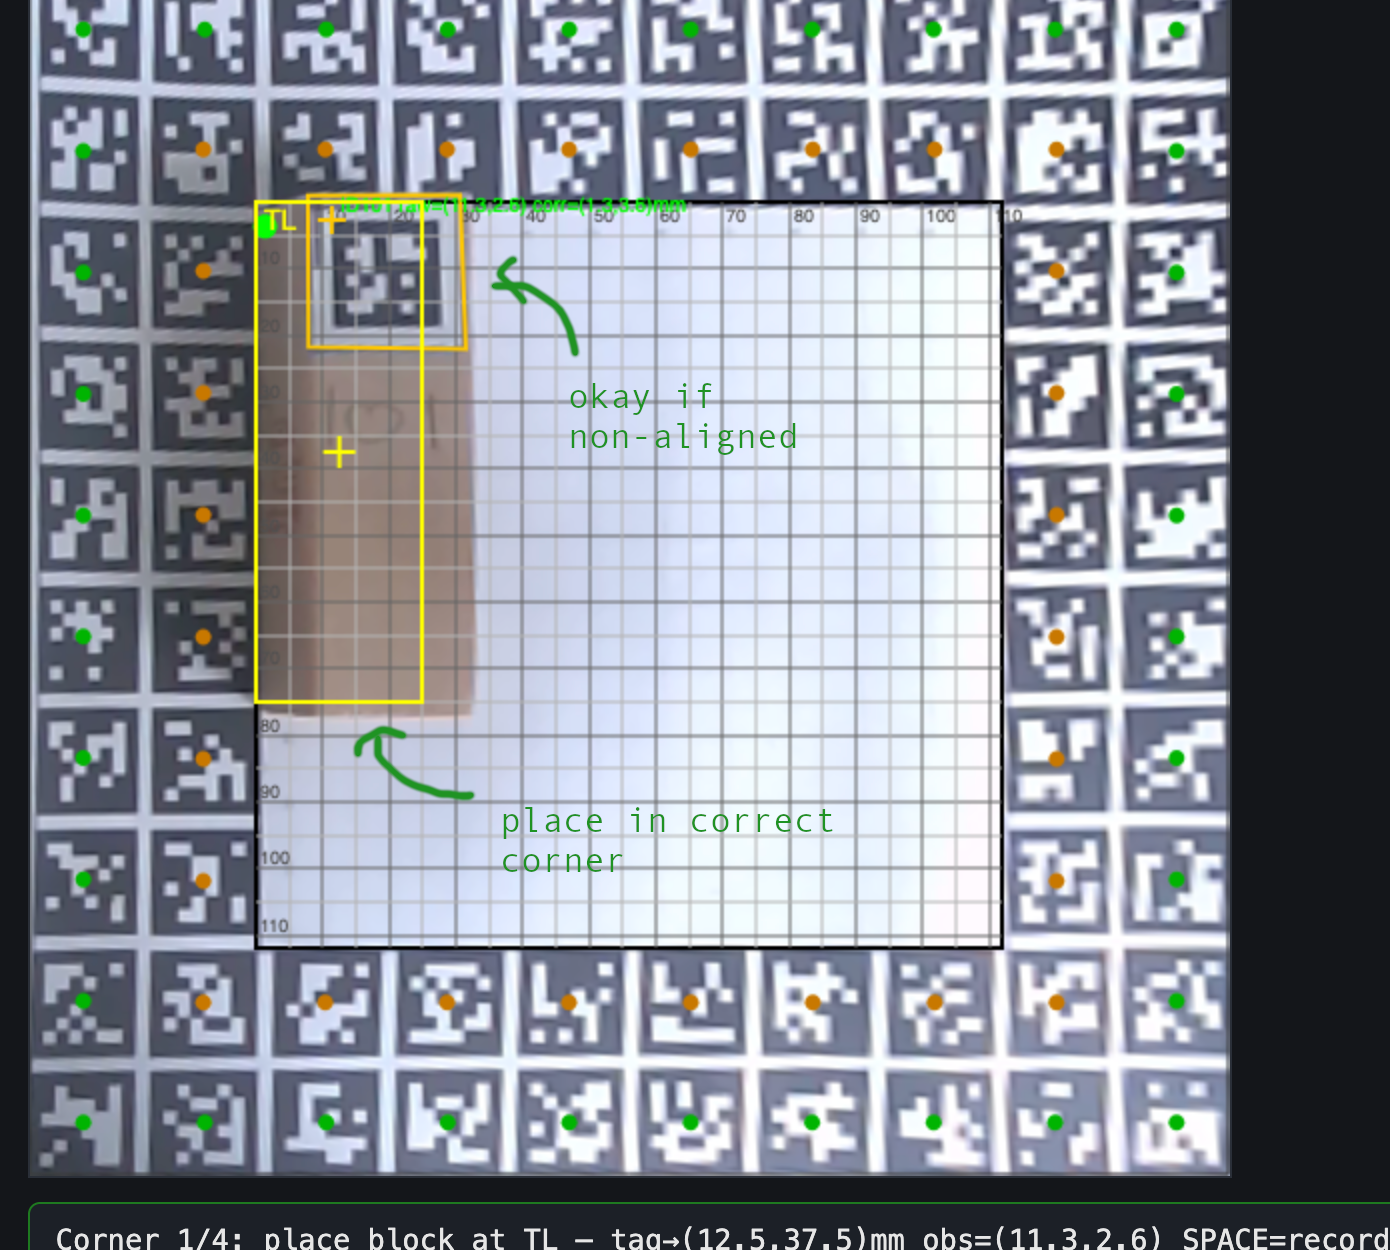
NOTE: The blocks do not need to align exactly with the marked rectangles in the image! If they are off, that is okay — it will be corrected for during calibration.
The important thing is that the objects are placed in the right order (i.e. the block is placed at the top-left interior edge in the beginning, then it is placed on the top-right, then bottom-left and then bottom-right).
Press space — or click on "Record corner" — to record the position for the top left.
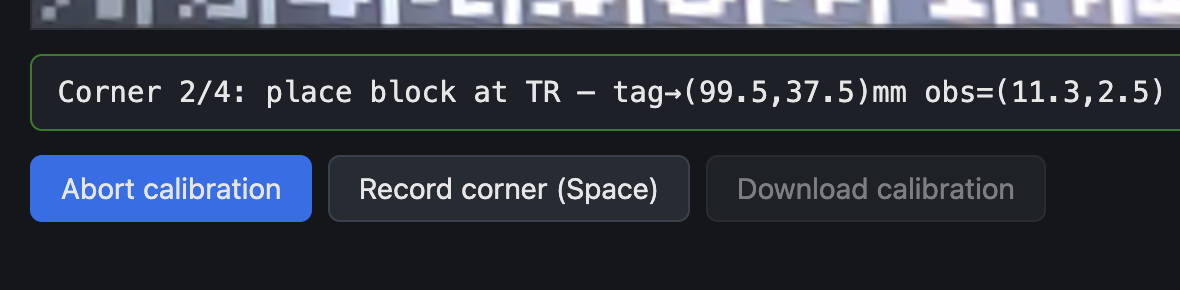
then continue this process for the top-right,
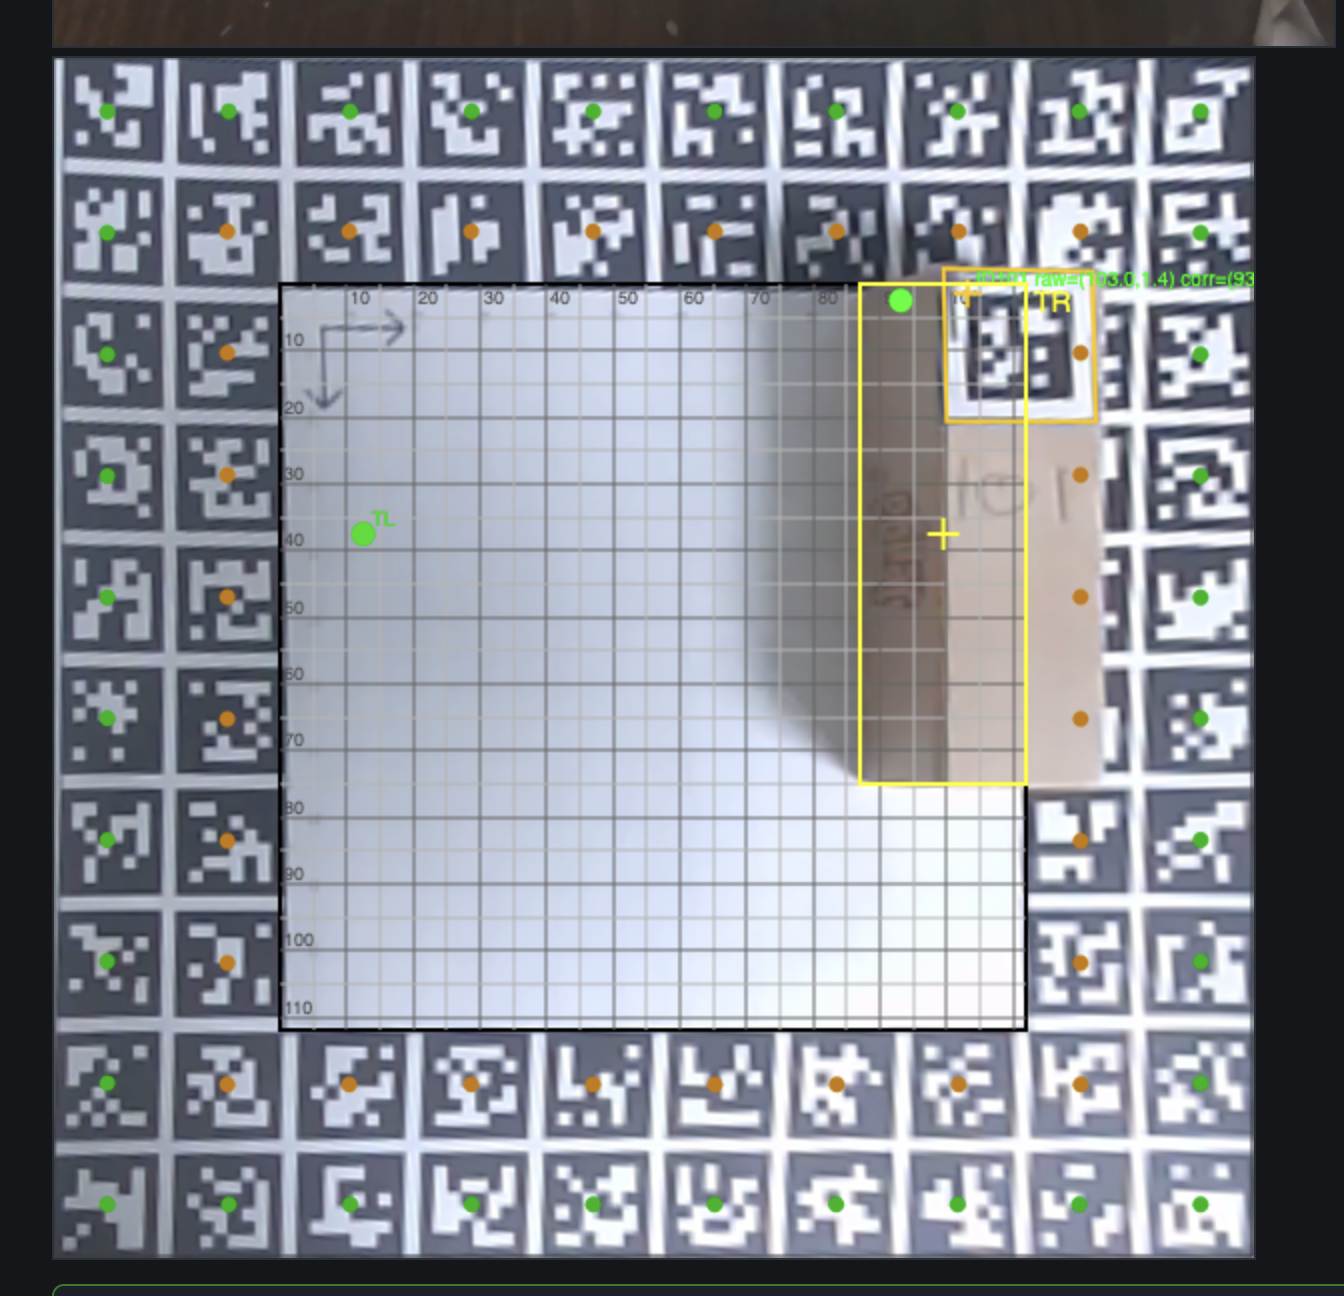
and then repeat this process in the bottom left and bottom right
3. Test the calibration out
Switch to the "Test calibration" tab and test the calibration out!
The green box should correctly identify the position of the block on the board.
4. Joint calibration
Switch to "Joint calibration" and calibrate the joints for the SO101. Go ahead and connect your SO101 to your laptop (ensure the power to the SO101 is also connected!), and click on "Connect servos!"
Then go ahead and follow the steps to calibrate all motors — do keep in mind that if you made a mistake during calibration, you can re-calibrate any motor at the end.
5. Drive the arm
Finally, switch to the Simulator and click on "Drive real arm" — and go ahead and connect the robot arm again by clicking on "Connect servos".
Then update the stage between approach -> descent -> grasp or lift to cycle through different stages of recognizing and lifting an item.
The grasp depth, x offset and y offset can be modified in the event that the parameters are not correct during grasping!
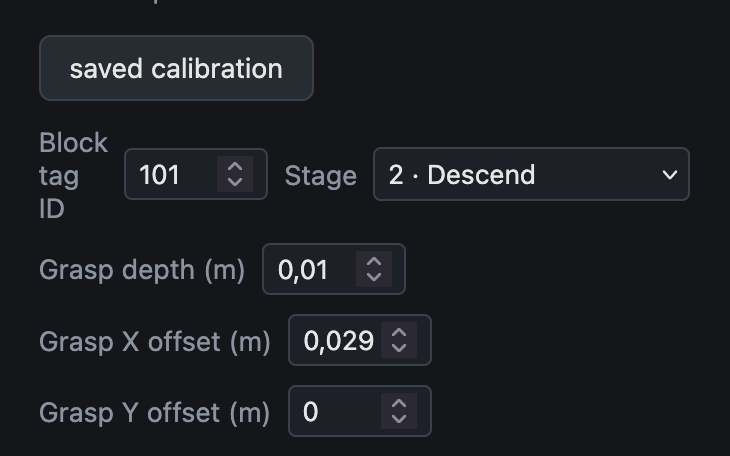
And now you can pick up items connected to ArUco tags with the tool provided!
This tool is super new, so if you're new here, stay tuned for more cool stuff I am going to do here — I am going to update this tool to be able to build walls, and even have the arm build another robot arm!
xoxo - appreciate you